It’s been a few years since I picked up a DSLR camera and learned its functions. I wanted to know how to become better because the honest truth was, I was jealous of all those who took fantastic photos. DSLRs, yes, is expensive but I always felt that to produce the best you must choose the best. Since then, new hybrid point and shoot cameras have come out with interchangeable lenses.
When I first started, I went through the manual and did numerous tests to see for myself what it all meant. I took courses and workshops. I was then put to shame while on vacation because of my limited knowledge and just the kit lens. As we rounded the tip of South America on a cruise and saw Cape Horn, someone’s ultra zoom lens on her point and shoot managed to capture the lighthouse on the island with clarity. My aunt asked me why I couldn’t produced the same result. Since then, I’ve learned about the various types of lenses, how to take portraits in a studio, and worked with strobes. I have also learned about post production using Adobe Photoshop, Adobe Bridge, Camera Raw, Lightroom and Aperture.
I must admit, to become a professional photographer is a difficult choice. Everyone is buying their own cameras and editing software. It’s very competitive. I’ve heard of professionals who have been in business for years and then close up shop. I have even experienced being hired to do professional work and while I’m doing my job, everyone wants to jump in and get their own photos – whether it’s a DSLR, point and shoot, smartphone or even iPads.
If you are at an event where there is a professional photographer, please be considerate and allow them to do their job. They are being paid and want to deliver on the goods. Also, even if Photoshop is made available, we don’t want to spend hours editing people out from the background. I saw on T.V. how a guest at a wedding stood directly next to the bride and groom taking photos with her fantastic DSLR while the professional couldn’t get a clean shot.
Here are some things to consider if you are undecided on what to do. All you know is that you want better photos. Some of you don’t want to invest in such an expensive DSLR and don’t even feel like lugging around this heavy piece of equipment. That’s understandable. This information is a bit general but there is plenty of information on the internet and brick and mortar places like Black’s and Henry’s to help you make a more in depth decision.
• What will you be using the camera for? It could be any one of these things – hobby, family and friends events, landscape photography, action photography like sports, building a portfolio. Research the different types of cameras and what they can do. Forget the debate between Nikon vs. Canon. That will only limit your thinking. Know the difference between full frame sensors and crop sensors. Sony has even come out with mirrorless cameras. Just as you would research DSLRs, look at their line of lenses.
• How much are you willing to invest? Consider your budget. Even if you do have money to drop $3000 on a full frame camera, and that’s not including extra lenses, will you get a return on investment? Full frame cameras are fantastic for product photography and billboard advertisement. Essentially, if you are doing corporate work, you’ll get your money back on your investment. Consider reading your manual for the point and shoot that you already own because there are a lot of things in there that can help you take better photos. For example, you should be able to change White Balance (WB) for different lighting environments, change between modes – manual, aperture priority, shutter priority and program mode, and change ISO. As I previously said, there are point and shoot cameras with interchangeable lenses. This will also allow better zoom.
• What is your skill level? Some people just don’t put any thought into their photographs and assume that all you have to do is press the button. I have come across people who don’t even wait for people to stop and smile. I have awful photos of myself when I’ve given my camera to others. On those few occasions, the person didn’t even wait for me to look at him/her, even when that person has taken photos at least twice. If you can afford it, definitely take courses and workshops to improve your photos.
• After you have chosen your camera, you wonder why your photos are no better. Are you willing to invest more money and time into editing software? It’s a lot of work. Adobe Photoshop is great but it is expensive. Consider Adobe Lightroom because it is much cheaper and you can do basic editing. You can also watermark your photos and create slideshows.
I was once asked what’s better – a smartphone or a point and shoot? The honest truth is I’ve only owned a smartphone for less than eight months. It is convenient because I usually have it on me for phone calls, I can take a photo on the spot if I don’t have my DSLR on me. Plus, I don’t have the option of receiving calls on my DSLR. That hasn’t been invented yet. There are numerous apps for smartphones for photo lovers. I specifically like Camera Awesome and even purchased their extra filters. It’s limited in that I have very little control over what I can take. I’m sure most photo apps will allow you to increase/decrease brightness, contrast and zoom in. There is only so much you can do with it. The quality isn’t the best either. It is more evident where lighting isn’t great and you can see noise in the photo. Yes, yes, flash can be used. However, flashes can be very harsh depending on how close you are to the subject.
Below, I have some examples of photos I’ve taken with both an iPhone and my Nikon D7000 camera.
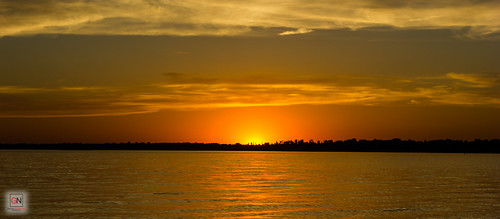
Hamilton Marina
iPhone using Camera Awesome

Nikon D7000 HDR using Photomatix
It is a bit extreme. I did spend more time on the HDR photo. I could have given more effort to the iPhone photo.
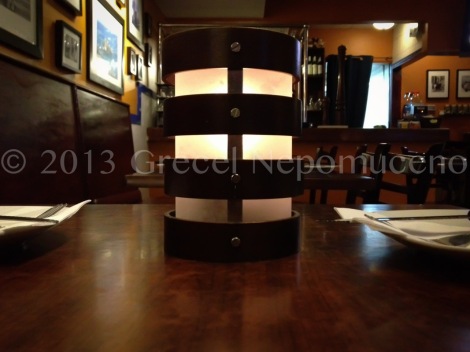
Here are a couple of iPhone photos both taken in a dark environment. One shows more grain than the other. I attribute the ambiance to the difference in quality.

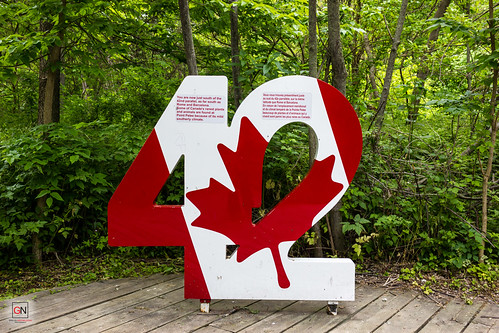
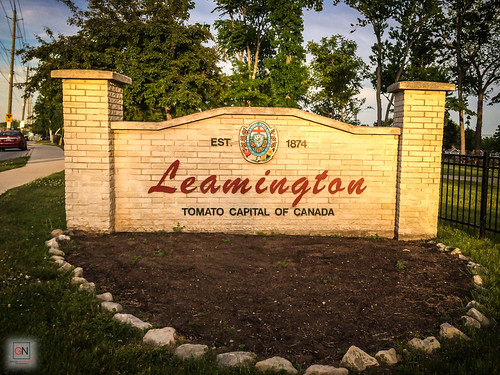
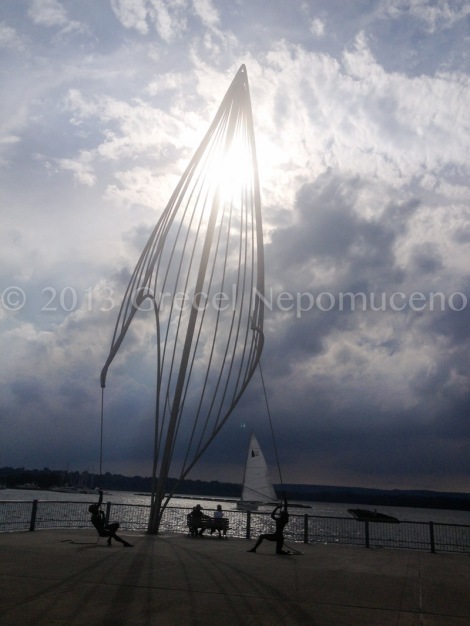
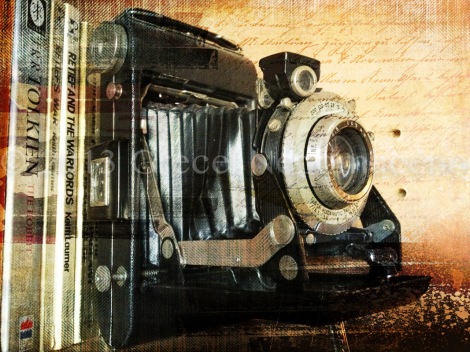
Ultimately, a good photograph is based on the skillful eye of the person. Even if someone has an excellent camera, it doesn’t make him/her any better. I’ve seen photos posted on Facebook where people have uploaded blurred photos, whether it’s motion blur or simply out of focus. In some photos, people are not aware of the background and there are things like poles sticking out of the subject’s head. Below are more photos I took using an iPhone and Nikon D7000. Very little editing was used on the iPhone photos while creating HDR from my DSLR took a little more work.
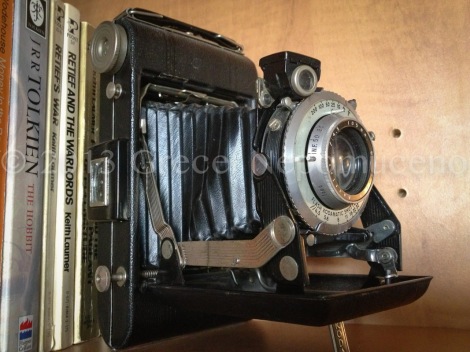
iPhone – Camera Awesome App
iPhone – Camera Awesome App with Hancock filter

iPhone – Camera Awesome App

iPhone – Camera Awesome App

HDR, Nikon D7000

HDR, Nikon D7000
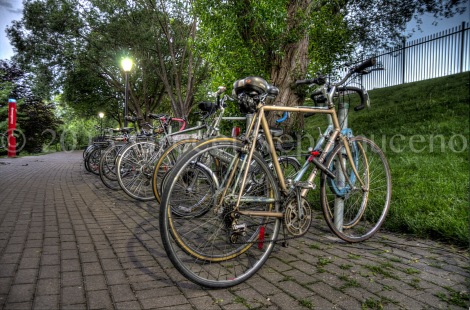
HDR, Nikon D7000
 //embedr.flickr.com/assets/client-code.js
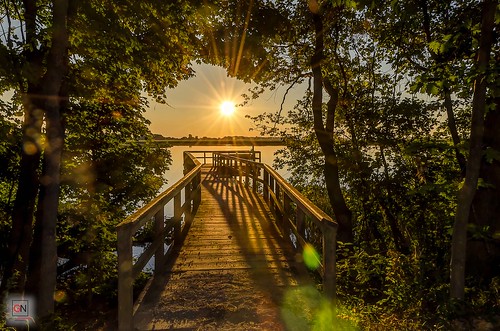 //embedr.flickr.com/assets/client-code.js
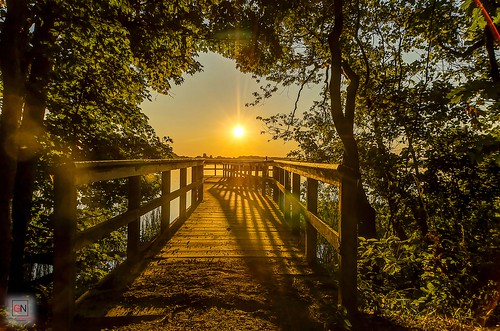 //embedr.flickr.com/assets/client-code.js
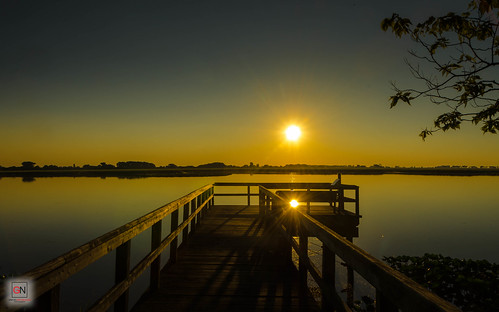 //embedr.flickr.com/assets/client-code.js
 //embedr.flickr.com/assets/client-code.js
 //embedr.flickr.com/assets/client-code.js
 //embedr.flickr.com/assets/client-code.js
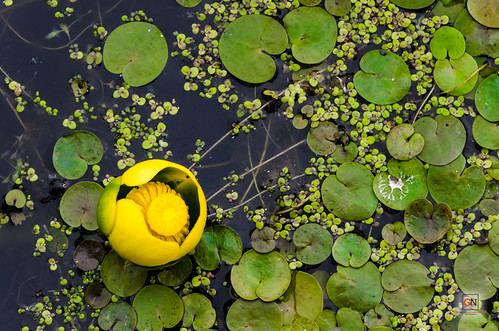 //embedr.flickr.com/assets/client-
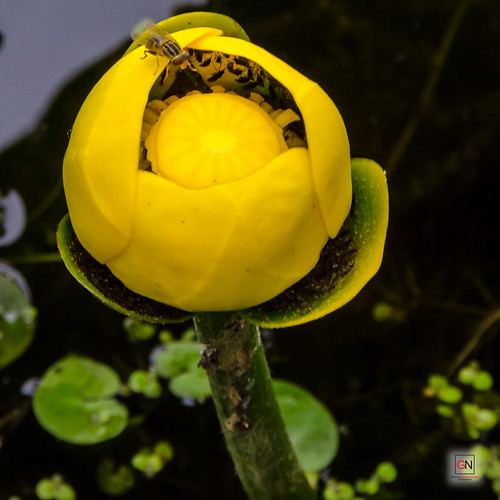 //embedr.flickr.com/assets/client-code.js
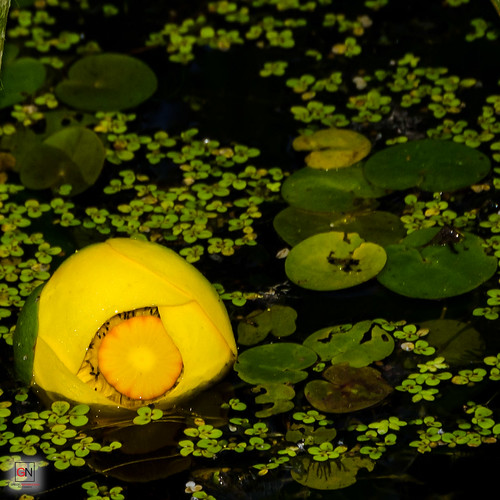 //embedr.flickr.com/assets/client-code.js
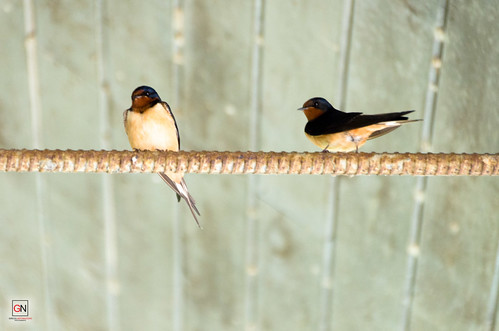 //embedr.flickr.com/assets/client-code.js